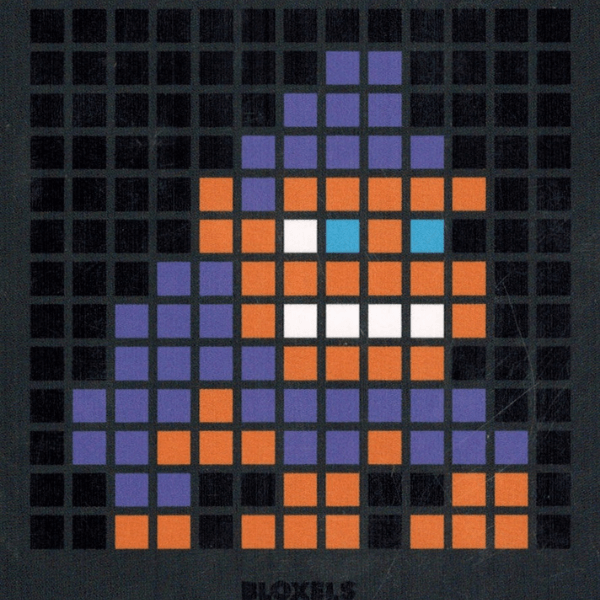
Bloxels Update #1: Character Builder - Posted 9/19/23


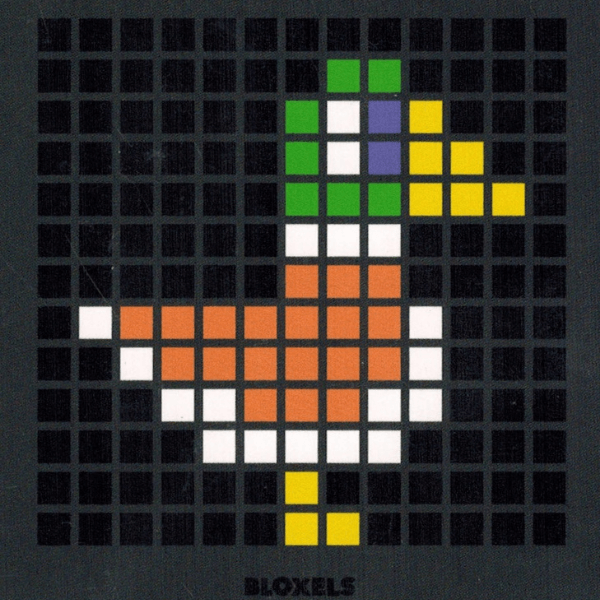
Bloxels Update #2: Decorating Your Games - Posted 9/26/23


Bloxels Update #3: Advanced Game Features - Posted 10/24/23
Bloxels Update #4: Bloxels Update 2.10 - Profiles & more - Posted 11/28/23


Bloxels Update #5: Working Together With Bloxels - Posted 2/20/24


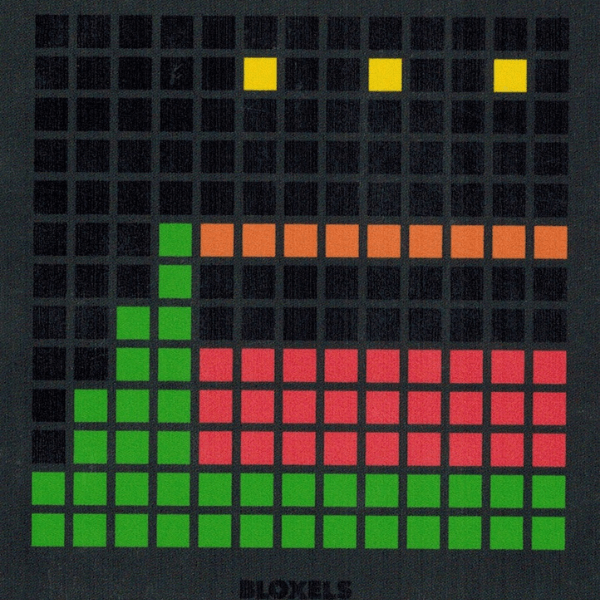
3 - View During Your 3rd Week Using Bloxels


5 - View During Your 5th Week Using Bloxels - COMING SOON!


8 - View During Your 8th Week Using Bloxels - COMING SOON!